
Bump Maps (part 1)
Theory of “Normals”
This is part 1 in a series to show how bump maps work and how to author them for your various project. This part is going to be mainly theory of operation. If your comfortable with you knowledge then you can skip to part 2 as that is where I start talking about my specific techniques. I recommend reading this part first if your new as it will make understanding bump maps and using them easier to utilize if you know how they work at a more nuts and bolts layer.
Section 1: The Bump is a Lie
The first section is about what we colloquially call the bump map, and how it isn’t technically a bump map. A true bump map is a texture file that stores height information that the GPU or image processing program will translate to give the illusion of height or depth on a flat surface.
What the "_B” texture file really is, is called a Normal Map. To understand a normal map we have to flash back to calculus class.
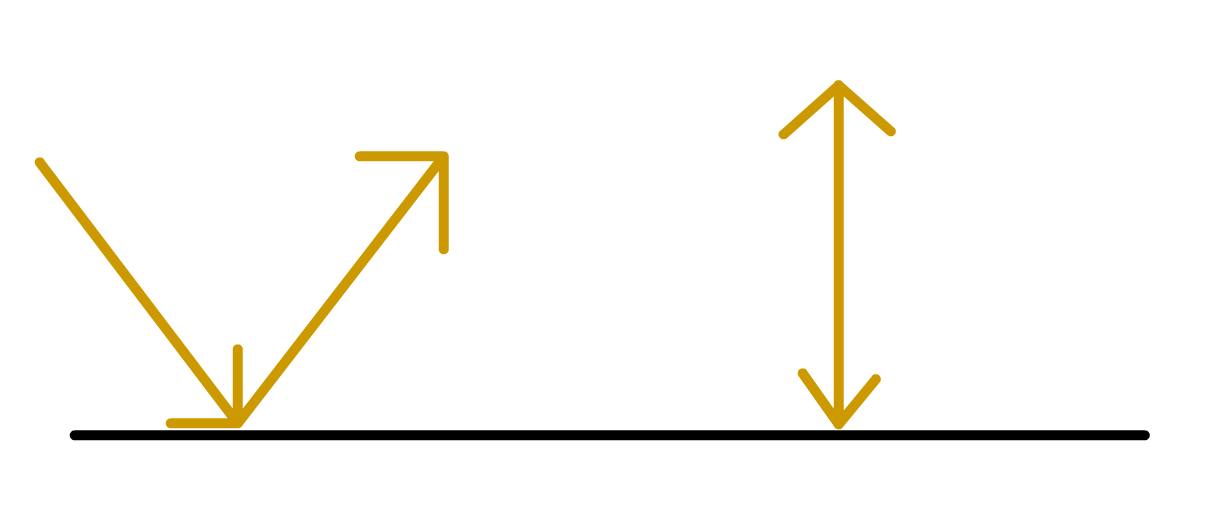
A normal is the angle that is perpendicular to the surface if the object at a given point. Visually this can be seen below were the red line is the normal angle of the back line.

This means the light will bounce off the surface as you would instinctively expect.
Section 2: How does the Normal Map work?
The normal map works is that it tells the the GPU that the normal angle is not actually the normal angle, and to instead act accordingly. The normal map does this by using two of the channels on the texture to determine how the normal of that surface at that spot is aimed.
The two channels that matter for authoring normal/bump maps are the green channel and alpha channel. The green channel will controls the up and down deflection of the angle. The alpha channel controls the left and right deflection. By setting a value of 128 (on a scale of 0-255) in either channel, you will put the normal right where it is expected.